


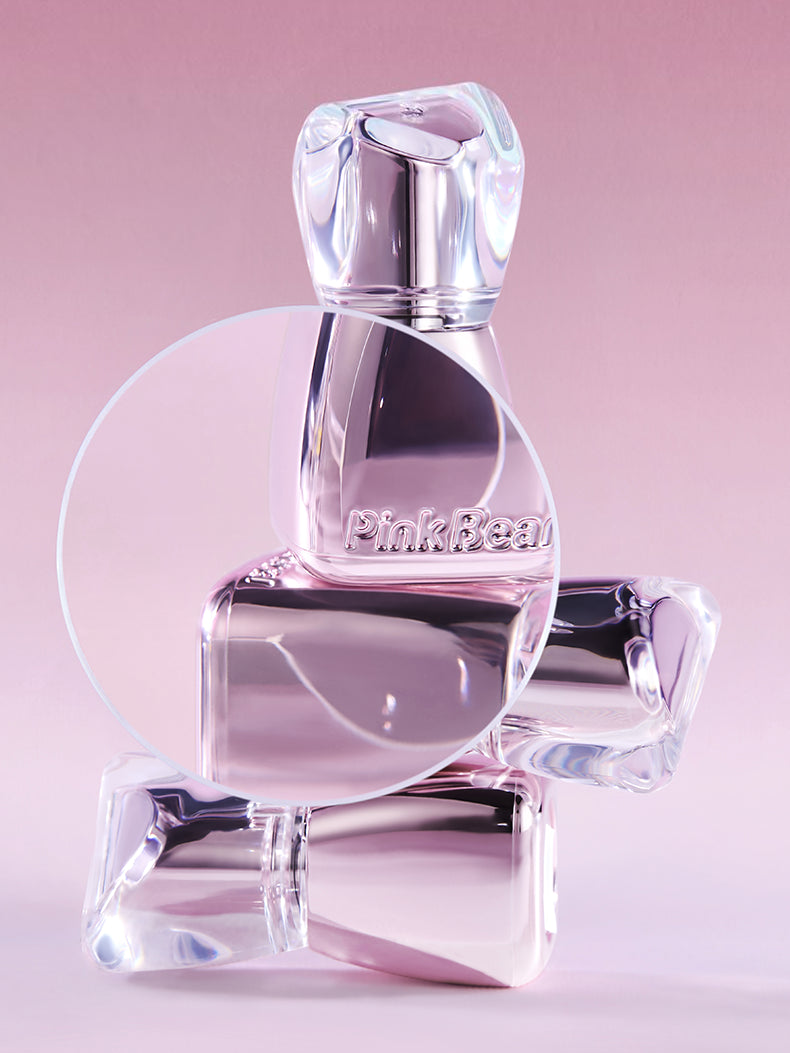
Plumping Lip Gloss 2ml
- ITSELF OR THE RELATED
- STORE WIDE
- An ADDON DISCOUNT
- Makeup: Buy 2 Get 10% Off, Not including tools, eyelashes, nails or skincare.
- Storewide: Buy 6 Get 20% Off.
- Hit by CODE "2025"
Discount Terms
- MEMBER DISCOUNT
- Enjoy your 20% Off code when cart>10USD, entry from Level ROSE.
- Member Tiers
- NEW AND JUST TRY US
- Sign in our newsletter to use code "NEWS" for your first order 10% Off.
- No minimum requirement.
Smile Earth and Green Shopping: Chic Decent uses 100% Biodegradable Eco-Friendly Packaging.
Why Choose It?
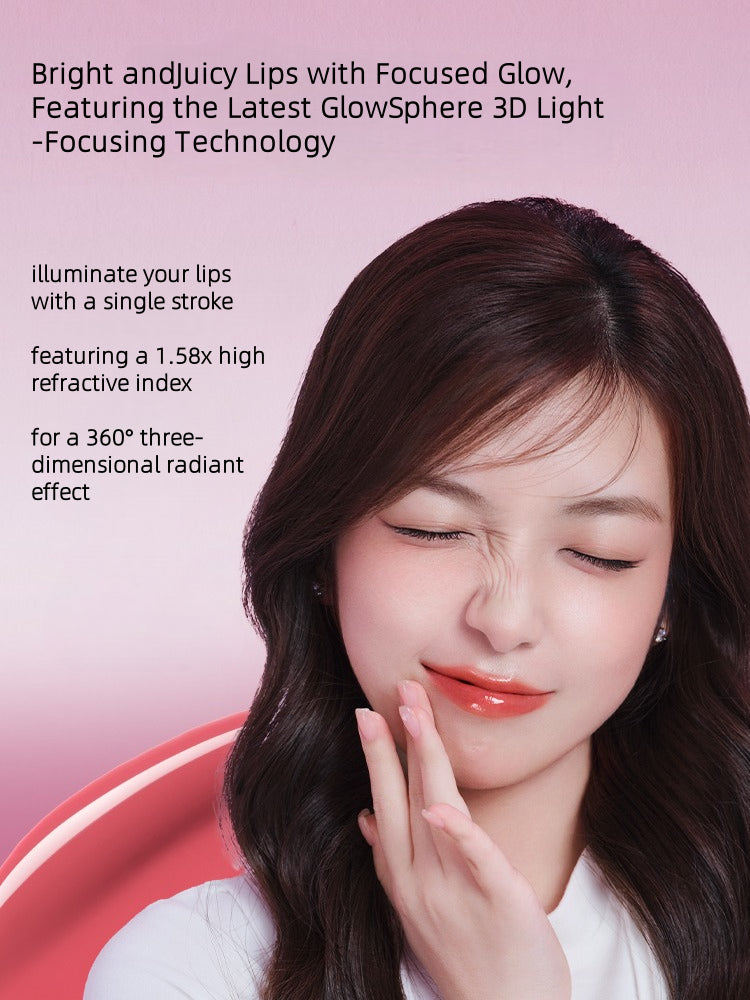
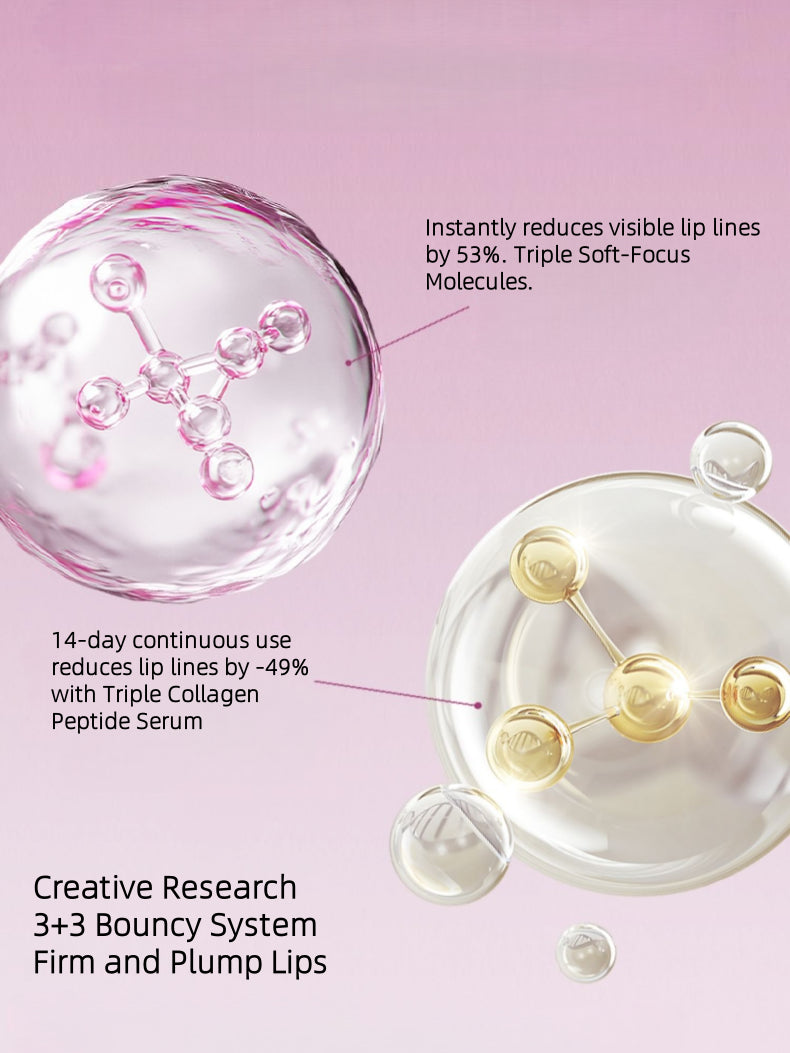
Instant & Adaptive Plumping:
- Optical Fullness: Silica particles blur fine lines for a smoother, instantly fuller appearance.
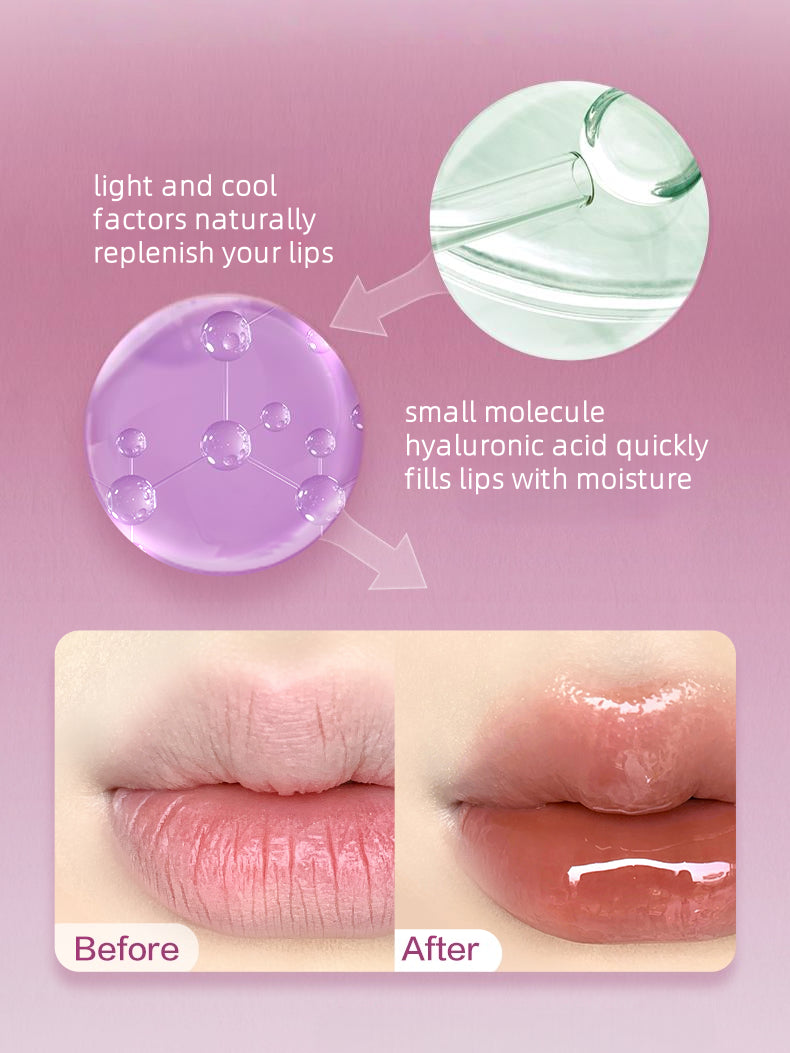
- Hydration Plump: Hyaluronic Acid and humectants draw moisture, making lips naturally plumper.
- Gentle Stimulation: Menthone Glyceryl Ketal provides a cooling tingle (not intense sting) for a subtle flushed plump.
- Peptide Support: Palmitoyl Tripeptides signal collagen support for potential long-term firmness and structure.
Intensive Barrier Repair & Nourishment:
- Ceramide Complex (NP, AP, EOP): Combined with Cholesterol & Phytosphingosine, this mimics and repairs the lip's natural protective barrier. This is the core solution for chronically dry, chapped lips.
- Potent Antioxidants: Vitamin E protects against environmental damage and free radicals.
- Soothing Agents: Crithmum Maritimum Extract and Adenosine calm irritation and reduce redness.
- Skin-Identical Lipids: Squalane nourishes deeply without greasiness.
Long-Lasting Hydration & Comfort:
- Multi-Layer Moisture System: Humectants (HA) attract water, emollients (Squalane, Ethylhexyl Palmitate) smooth, and the Ceramide Barrier locks it all in for sustained hydration.
- Non-Drying, Comfortable Wear: Silicones and emollients create a smooth, cushiony feel – never sticky, tacky, or drying over time.
High-Shine, Luxurious Finish:
- Glass-Like Shine: A specific blend of silicones delivers high-impact, reflective shine without heaviness.
- Lightweight Texture: Feels comfortable and non-goopy on the lips.
Lip Health & Anti-Aging Support:
- Fights Chronic Dryness/Chapping: Barrier repair directly addresses the root cause.
- Smooths Lip Texture: Hydration and optical blurring minimize lines and flakiness.
- Protects Against Environmental Stress: Antioxidants shield delicate lip skin.
- Potential Long-Term Improvement: Peptides (including Acetyl Hexapeptide-8) may help reduce the appearance of fine lines and support lip firmness over time.
In Essence, This Gloss Is:
- A Hybrid Treatment + Cosmetic: It's not just color and shine; it actively improves the health and condition of your lips.
- The Solution for Dry/Chapped Lips: The potent ceramide complex is its standout feature for barrier repair.
- A Plumper Without the Pain: Delivers fullness through hydration, optics, and gentle cooling – avoiding harsh irritants.
- Luxuriously Comfortable: High shine meets a nourishing, non-sticky, cushiony feel.
- An Investment in Lip Health: Provides antioxidants, peptides, and barrier support for long-term resilience and appearance.
This gloss provides immediate beauty (shine, color, plump) while delivering long-term care (repair, hydration, protection, anti-aging support) for truly healthier, more beautiful lips.
Ingredients
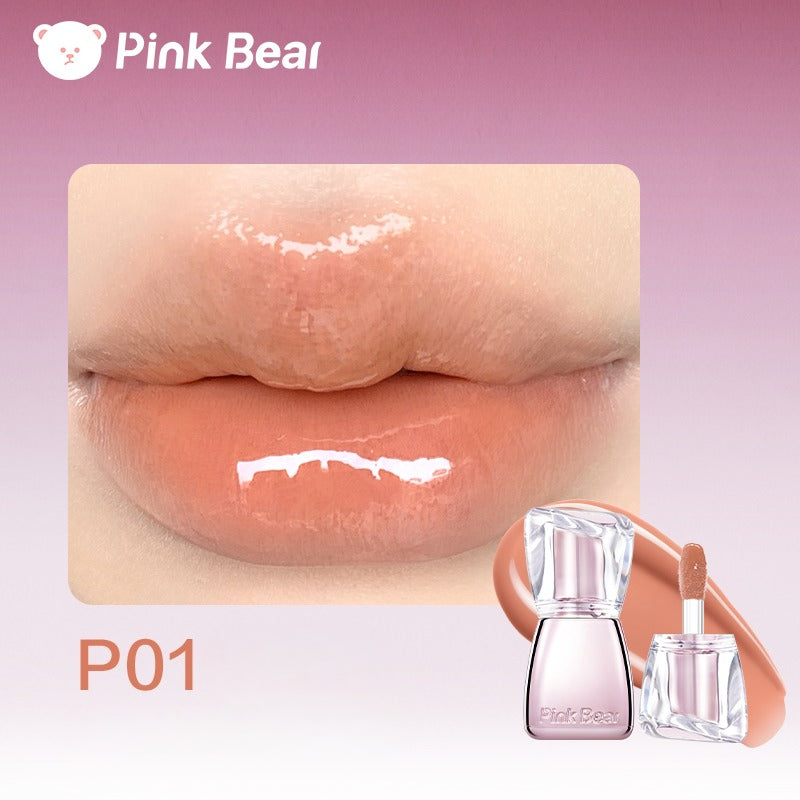
P01
- ["Diisostearyl Malate", "Polyglyceryl-2 Isostearate/Dimer Dilinoleate Copolymer", "Trimethyl Pentaphenyl Trisiloxane", "Phenyl Trimethicone", "Polyisobutene", "Hydrogenated Polyisobutene", "Acrylates Copolymer", "Isohexadecane", "Silica Dimethyl Silylate", "Cetyl PEG/PPG-10/1 Dimethicone", "Quaternium-18 Hectorite", "Polyglyceryl-2 Triisostearate", "CI 77891", "Triethyl Citrate", "Ethylhexyl Palmitate", "Glyceryl Caprylate", "CI 77491", "Tribehenin", "Caprylyl Glycol", "Squalane", "Menthone Glyceryl Ketal", "Ethylhexylglycerin", "CI 77492", "CI 77499", "Flavoring agents", "Sorbitan isostearate", "Water", "Caprylic/capric triglyceride", "Adenosine", "Hyaluronic acid", "Sodium lauroyl lactylate", "Methylpropanediol", "Crithmum maritimum extract", "Palmitoyl tripeptide-1", "Tocopherol (vitamin E)", "Ceramide NP", "Phenoxyethanol", "Cholesterol", "Phytosphingosine", "Ceramide AP", "Xanthan gum", "Pentaerythrityl tetra-di-tert-butyl hydroxyhydrocinnamate", "Carbomer", "Palmitoyl tripeptide-5", "Acetyl hexapeptide-8", "Ceramide EOP"]
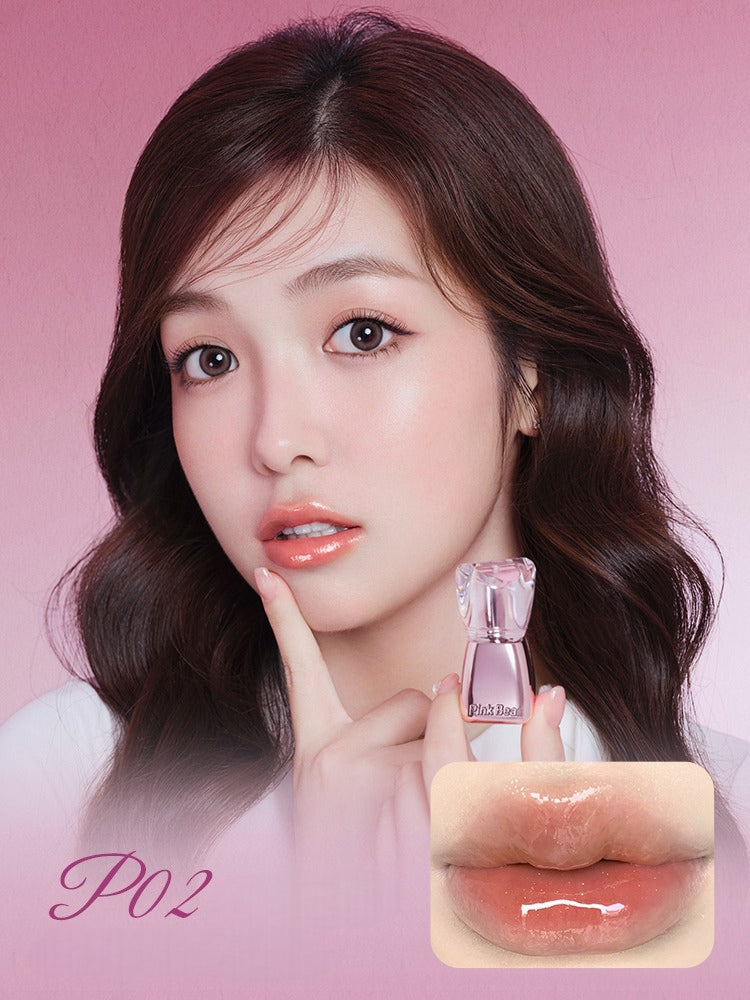
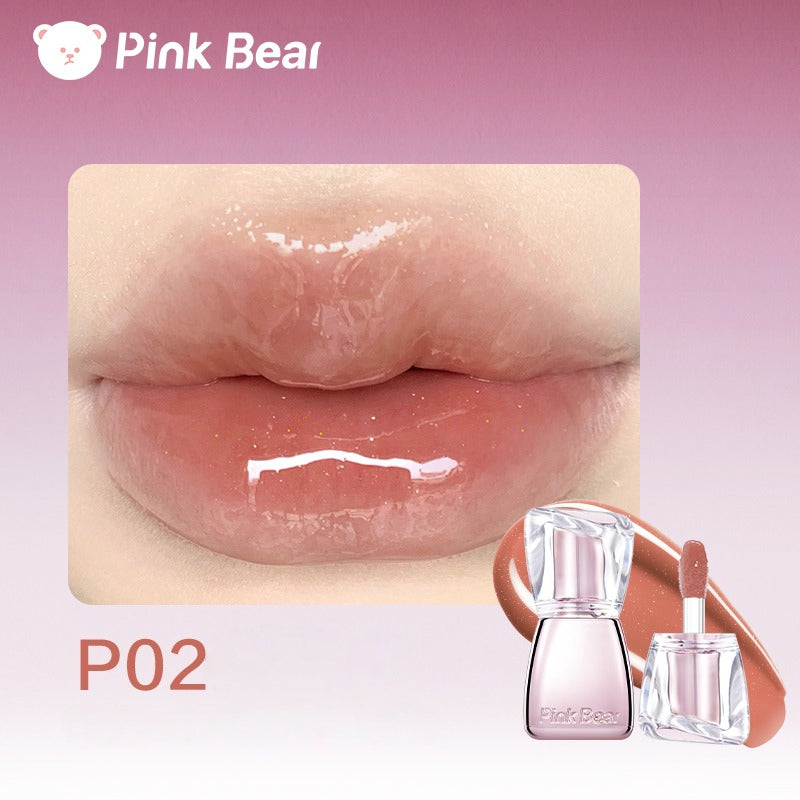
P02
- ["Diisostearyl Malate", "Polyglyceryl-2 Isostearate/Dimer Dilinoleate Copolymer", "Trimethyl Pentaphenyl Trisiloxane", "Phenyl Trimethicone", "Polyisobutene", "Hydrogenated Polyisobutene", "Acrylates Copolymer", "Isohexadecane", "Silica Dimethyl Silylate", "Cetyl PEG/PPG-10/1 Dimethicone", "Quaternium-18 Hectorite", "Calcium Aluminum Borosilicate", "Polyglyceryl-2 Triisostearate", "CI 77891", "Triethyl Citrate", "Ethylhexyl Palmitate", "CI 77491", "Glyceryl Caprylate", "Tribehenin", "Caprylyl Glycol", "Squalane", "Menthone Glyceryl Ketal", "Calcium Sodium Borosilicate", "Ethylhexylglycerin", "CI 77492", "Flavoring agents", "Sorbitan isostearate", "CI 15850", "CI 42090", "Water", "Caprylic/capric triglyceride", "Tin oxide", "Adenosine", "Hyaluronic acid", "Sodium lauroyl lactylate", "Methylpropanediol", "Crithmum maritimum extract", "Palmitoyl tripeptide-1", "Tocopherol (vitamin E)", "Ceramide NP", "Phenoxyethanol", "Cholesterol", "Phytosphingosine", "Ceramide AP", "Xanthan gum", "Pentaerythrityl tetra-di-tert-butyl hydroxyhydrocinnamate", "Carbomer", "Palmitoyl tripeptide-5", "Acetyl hexapeptide-8", "Ceramide EOP"]
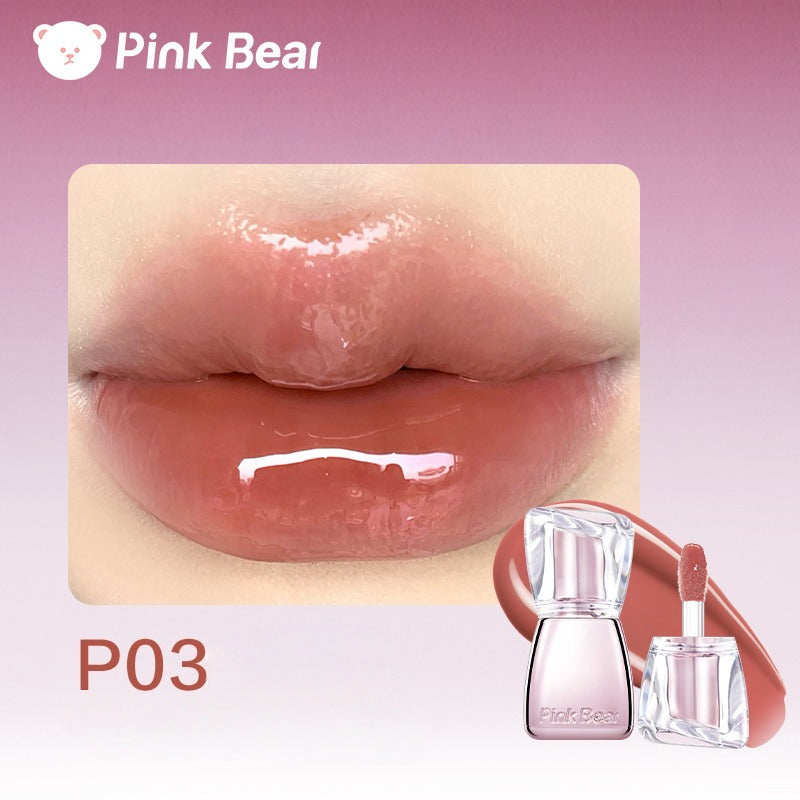
P03
- ["Diisostearyl Malate", "Polyglyceryl-2 Isostearate/Dimer Dilinoleate Copolymer", "Trimethyl Pentaphenyl Trisiloxane", "Phenyl Trimethicone", "Polyisobutene", "Hydrogenated Polyisobutene", "Acrylates Copolymer", "Isohexadecane", "Silica Dimethyl Silylate", "Cetyl PEG/PPG-10/1 Dimethicone", "Quaternium-18 Hectorite", "Polyglyceryl-2 Triisostearate", "CI 77491", "Ethylhexyl Palmitate", "Triethyl Citrate", "Glyceryl Caprylate", "Tribehenin", "Caprylyl Glycol", "Squalane", "Menthone Glyceryl Ketal", "CI 77492", "CI 77891", "CI 42090", "Ethylhexylglycerin", "CI 15850", "Flavoring agents", "Sorbitan isostearate", "CI 77499", "Water", "Caprylic/capric triglyceride", "Adenosine", "Hyaluronic acid", "Sodium lauroyl lactylate", "Methylpropanediol", "Palmitoyl tripeptide-1", "Crithmum maritimum extract", "Tocopherol (vitamin E)", "Ceramide NP", "Phenoxyethanol", "Pentaerythrityl tetra-di-tert-butyl hydroxyhydrocinnamate", "Cholesterol", "Phytosphingosine", "Ceramide AP", "Xanthan gum", "Carbomer", "Palmitoyl tripeptide-5", "Acetyl hexapeptide-8", "Ceramide EOP"]
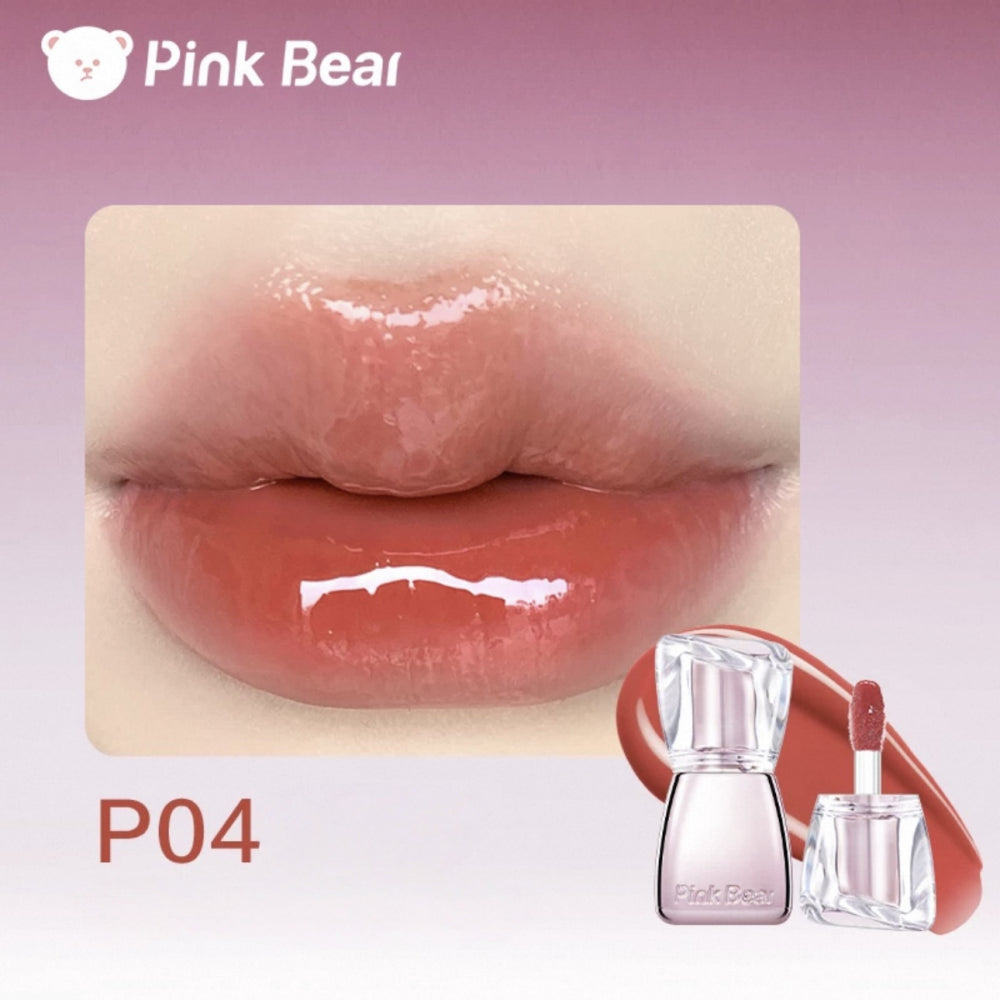
P04
- ["Diisostearyl Malate", "Polyglyceryl-2 Isostearate/Dimer Dilinoleate Copolymer", "Trimethyl Pentaphenyl Trisiloxane", "Phenyl Trimethicone", "Polyisobutene", "Hydrogenated Polyisobutene", "Acrylates Copolymer", "Isohexadecane", "Silica Dimethyl Silylate", "Cetyl PEG/PPG-10/1 Dimethicone", "Quaternium-18 Hectorite", "Polyglyceryl-2 Triisostearate", "CI 77491", "Ethylhexyl Palmitate", "Triethyl Citrate", "Glyceryl Caprylate", "CI 77891", "Tribehenin", "Caprylyl Glycol", "Squalane", "Menthone Glyceryl Ketal", "CI 15850", "Ethylhexylglycerin", "CI 77499", "Flavoring agents", "Sorbitan isostearate", "Water", "Caprylic/capric triglyceride", "Adenosine", "Hyaluronic acid", "Sodium lauroyl lactylate", "Methylpropanediol", "Palmitoyl tripeptide-1", "Crithmum maritimum extract", "Tocopherol (vitamin E)", "Ceramide NP", "Phenoxyethanol", "Pentaerythrityl tetra-di-tert-butyl hydroxyhydrocinnamate", "Cholesterol", "Phytosphingosine", "Ceramide AP", "Xanthan gum", "Carbomer", "Palmitoyl tripeptide-5", "Acetyl hexapeptide-8", "Ceramide EOP"]
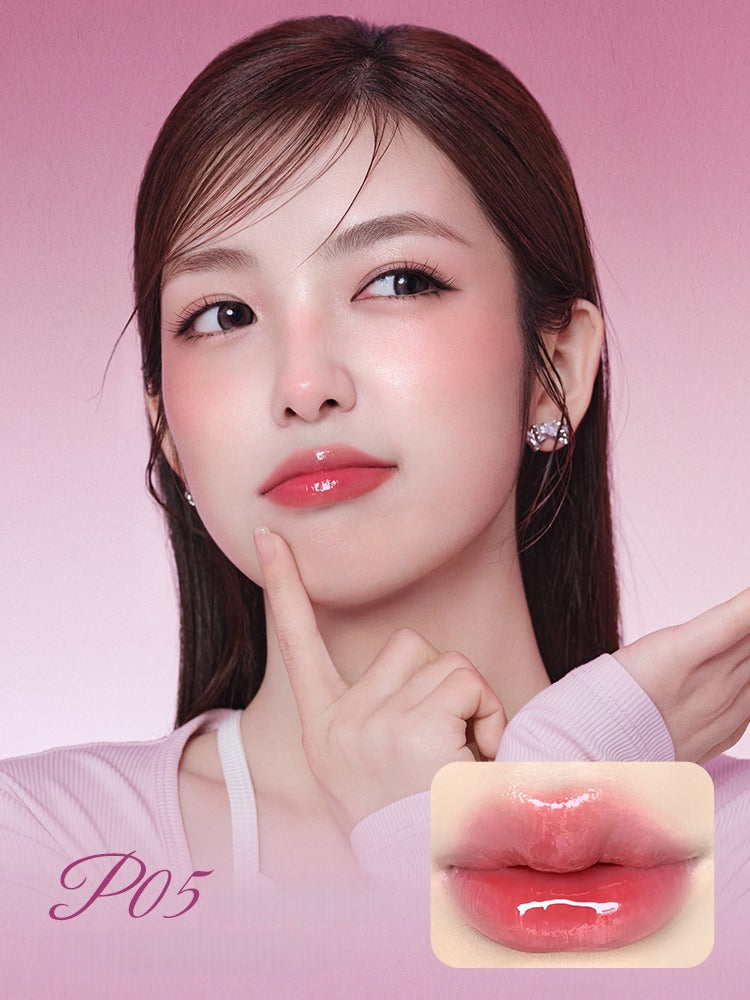
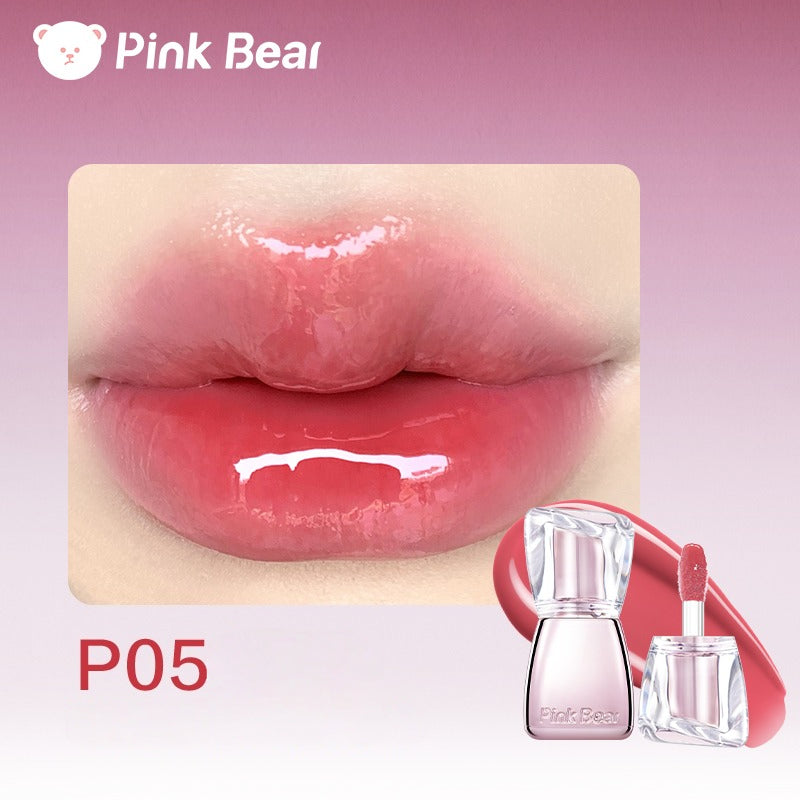
P05
- ["Diisostearyl Malate", "Polyglyceryl-2 Isostearate/Dimer Dilinoleate Copolymer", "Trimethyl Pentaphenyl Trisiloxane", "Phenyl Trimethicone", "Polyisobutene", "Hydrogenated Polyisobutene", "Acrylates Copolymer", "Isohexadecane", "Silica Dimethyl Silylate", "Cetyl PEG/PPG-10/1 Dimethicone", "Quaternium-18 Hectorite", "Polyglyceryl-2 Triisostearate", "Ethylhexyl Palmitate", "Triethyl Citrate", "Glyceryl Caprylate", "CI 77891", "CI 77491", "Tribehenin", "Caprylyl Glycol", "CI 15850", "Squalane", "Menthone Glyceryl Ketal", "Ethylhexylglycerin", "Flavoring Essence (Material)", "CI 42090", "Sorbitan Isostearate", "Water", "Caprylic/Capric Triglyceride", "Adenosine", "Hyaluronic Acid", "Sodium Lauroyl Lactylate", "Methylpropanediol", "Palmitoyl Tripeptide-1", "Crithmum Maritimum Extract", "Tocopherol (Vitamin E)", "Ceramide NP", "Phenoxyethanol", "Pentaerythrityl Tetra-(di-tert-butyl hydroxyhydrocinnamate)", "Cholesterol", "Phytosphingosine", "Ceramide AP", "Xanthan Gum", "Carbomer", "Palmitoyl Tripeptide-5", "Acetyl Hexapeptide-8", "Ceramide EOP"]
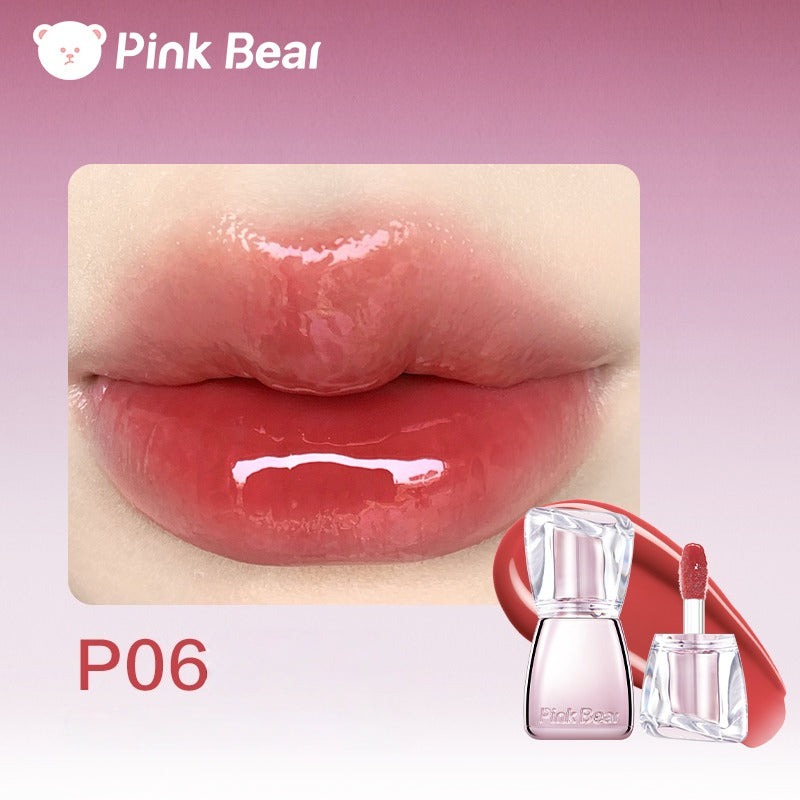
P06
- ["Diisostearyl Malate", "Polyglyceryl-2 Isostearate/Dilinoleate Copolymer", "Trimethyl Pentaphenyl Trisiloxane", "Phenyl Trimethicone", "Polyisobutene", "Hydrogenated Polyisobutene", "Acrylates Copolymer", "Isohexadecane", "Silica Dimethyl Silylate", "Cetyl PEG/PPG-10/1 Dimethicone", "Quaternium-18 Hectorite", "Polyglyceryl-2 Triisostearate", "Triethyl Citrate", "Ethylhexyl Palmitate", "CI 77491", "CI 77492", "Glyceryl Caprylate", "CI 15850", "Tribehenin", "Caprylyl Glycol", "Squalane", "Menthone Glyceryl Ketal", "Ethylhexylglycerin", "CI 77499", "CI 77891", "Flavoring agents", "Sorbitan isostearate", "Water", "Caprylic/capric triglyceride", "Adenosine", "Hyaluronic acid", "Sodium lauroyl lactylate", "Methylpropanediol", "Crithmum maritimum extract", "Palmitoyl tripeptide-1", "Tocopherol (vitamin E)", "Ceramide NP", "Phenoxyethanol", "Cholesterol", "Phytosphingosine", "Ceramide AP", "Xanthan gum", "Pentaerythrityl tetra-di-tert-butyl hydroxyhydrocinnamate", "Carbomer", "Palmitoyl tripeptide-5", "Acetyl hexapeptide-8", "Ceramide EOP"]
Apply and Precautions
Precautions:
- Do not use if there are any abnormalities on the lip skin (including but not limited to wounds, allergies, etc.).
- Do not place where infants and young children can reach.
- Please store in a ventilated and dry place. Please cover the lid after use.
Optimal Application Steps:
Prep Lips (Optional but Recommended):
- Gently exfoliate lips if they are flaky (use a soft toothbrush or sugar scrub). Pat dry.
- Apply a thin layer of lip balm if lips are severely dry. Let it absorb for a minute, then blot off excess. (The gloss itself is deeply hydrating, so heavy balm isn't usually needed).
Shake the Tube (Gently):
- Give the tube a slight shake to ensure any potential separation of oils/silicones is reincorporated, especially if it's been sitting.
Load the Applicator:
- Pull the wand out of the tube. Avoid scraping excess gloss off on the tube neck – you want that full load for optimal coverage and ingredient delivery.
Apply to Center of Lower Lip:
- Start by placing the flat side of the doe-foot firmly onto the center of your lower lip. Don't swipe immediately.
Press & Release for Plump Activation:
- Press your lips together gently but firmly for 2-3 seconds. This warmth helps:
- Activate the cooling sensation of Menthone Glyceryl Ketal.
- Spread the film-formers (Acrylates Copolymer) evenly.
- Allow the peptides and ceramides to start interacting with your lip skin.
- This "press and hold" is key for the initial plumping feel.
Shape & Fill:
- Use the pointed tip of the doe-foot to precisely outline your lip line, starting from the cupid's bow and working outwards.
- Fill in the rest of your lips using smooth, even strokes. The formula's slip (Diisostearyl Malate, silicones) should make this effortless.
- Focus on covering the entire lip surface evenly to ensure the hyaluronic acid, ceramides, and peptides contact all areas.
Press Lips Together Again (Lightly):
- Gently press lips together once more to blend any edges and ensure even distribution.
Avoid Over-Application:
- One full applicator load is usually sufficient for full coverage and maximum benefit. Applying too much can feel heavy and increase the chance of transfer. Remember, the peptides, ceramides, and antioxidants are potent even in a thin, even layer.
Pro Tips for Enhanced Results:
- For Maximum Plump: Reapply the gloss before the cooling sensation fully fades to reactivate it. The initial tingle peaks quickly.
- For Hydration & Barrier Repair: Apply consistently throughout the day as needed, especially before going into dry/cold environments. Reapplication delivers fresh ceramides, squalane, and humectants.
- Under Lipstick: Use a thin layer as a hydrating, plumping base under matte lipsticks to prevent drying and add dimension.
- Night Treatment: Apply a slightly thicker layer before bed as an overnight lip mask. The ceramide complex and repair ingredients work wonders while you sleep.
- Avoid Inner Lips: Don't apply too far into the wet border of your lips to prevent the flavoring agents from causing discomfort.
Why This Technique Matters:
- Activates Key Ingredients: The "press & hold" step is crucial for triggering the cooling plump and helping the film-formers set.
- Ensures Even Coverage: Precise application guarantees the active skincare ingredients (peptides, ceramides, HA, antioxidants) contact all lip surfaces for full benefit.
- Prevents Waste: Using the applicator correctly minimizes product waste of this concentrated, treatment-rich formula.
- Optimizes Feel: Applying the right amount ensures you get the luxurious shine and comfortable, non-sticky feel the silicones provide.
Storage: Keep the tube upright in a cool place away from direct sunlight to preserve the stability of the peptides, ceramides, vitamin E, and delicate oils.
By following these steps, you'll not only get beautiful shine and color but also maximize the impressive lip-repairing, plumping, and protective benefits packed into this innovative gloss!
ITEM BRIEF
- Serial Number: PB030;
- Purpose: Lip Makeup;
- Options: 6;
- Net Content: 2ml;
- Origin: Made in China;
- Shelf Life: 3 Years;
SHIPPING
- Order processed and shipped out in 1-3 Business Days;
- Express by DHL Generally in 2-7 Days;
- Standard Delivery in 4-15 Business Days.
- Quick solution with returns and refunds.
- More details in Shipping Policy.
Choose options
Share An Inspiration
let this little thing illustrate.